w3blog, a simple blog engine
Published 2018-07-23 on Yaroslav's weblog
In this post I will be explaining how to use my blog engine for the Django framework, w3blog.
First, an introduction
I decided to create my own blog engine because I didn't find one for Django that satisfied my needs. That is, I wanted a simple to setup, but customizable blog engine that offered multilingual capabilities since I wanted to write my blog in three different languages (English, Spanish and Russian). I wanted to be able to write posts in different languages and make use of Django's built-in localization engine, so that if user's locale is, for example, Spanish, so that they would immediately see the posts in Spanish, if they are already translated to Spanish.
The following is a short list of features of w3blog:
- Users can post anonymous comments, if enabled
- Allow only registered users to post comments through Django's built-in authentication engine, if enabled
- Can use own base template
- RSS
- Turn on or off the sidebar, and chose to show categories, archive list, none, or both in the sidebar
- Show or hide the author of the post, and whether it shows the author's name or username
- Enable or disable multilingual features
These are features available as of the writing of this post (v0.4.2). In the next version (v0.5.x) I plan on adding the ability to further customize the sidebar without having to modify the internal templates of the app.
I will be showing you further down below how to setup the engine to customize these features.
Setup
First of all, you need to install a couple of python modules with pip. w3blog itself, and django-summernote. Check out https://summernote.org/ for more information about it.
$ pip install w3blog django-summernote
After installing them, we need to add to the settings.py list of installed apps
INSTALLED_APPS = [
    '...',
    'django_summernote',
    'weblog',
]
And add the following urls to our project's main urls.py
url(r'^blog/', include('weblog.urls')),
url(r'^summernote/', include('django_summernote.urls')),
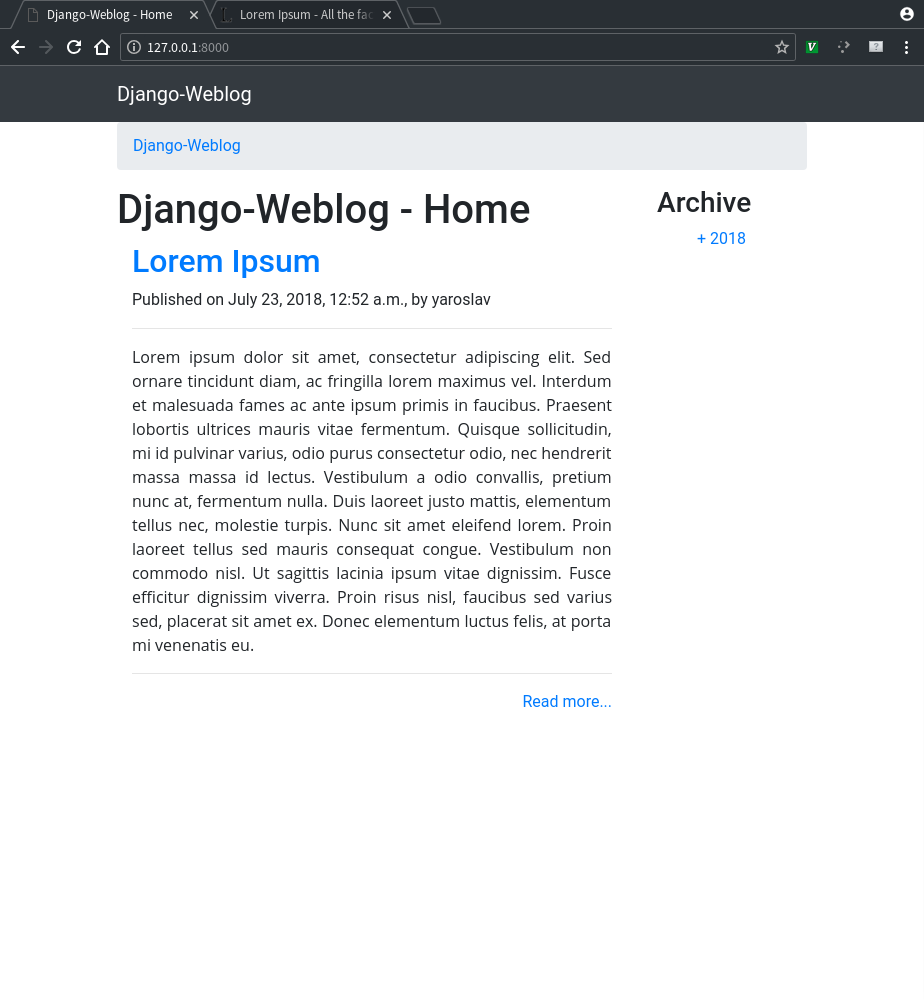
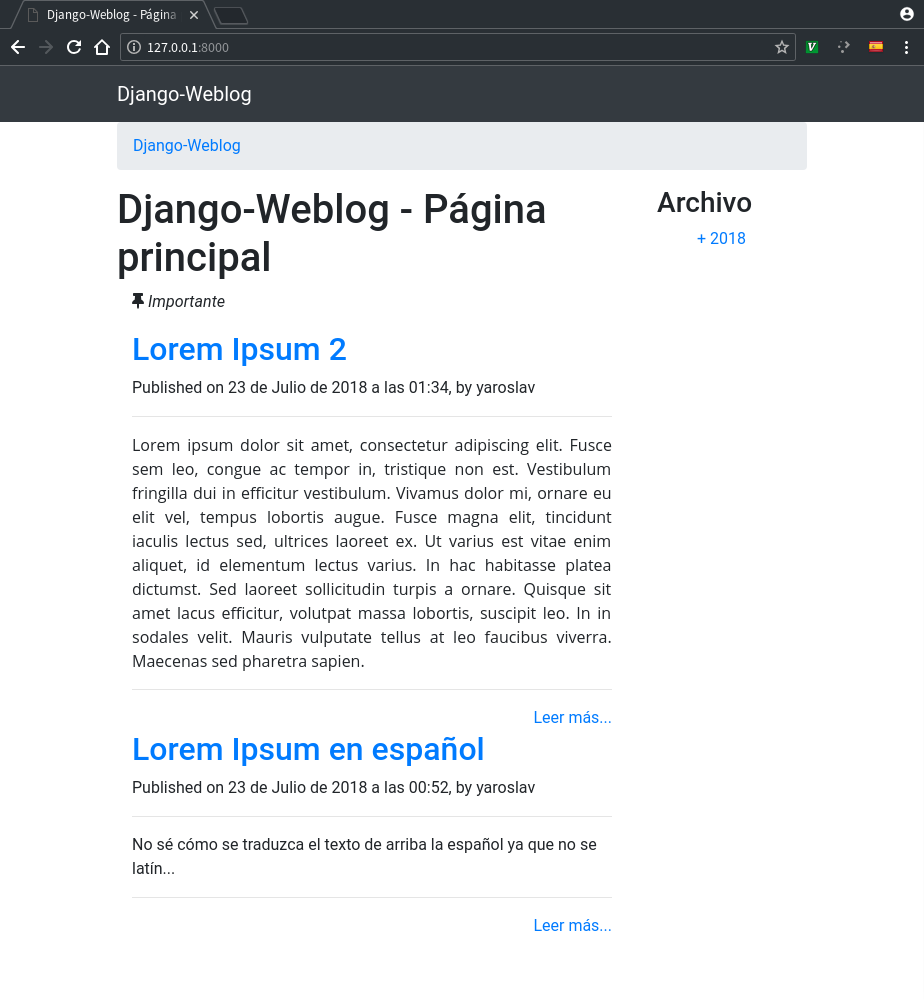
So if we now run our development server and go to our browser to the respective link, we should now see something similar to the following

After creating a django super user and going to the admin, we can now see a weblog section with two models: Blog posts and Categories.

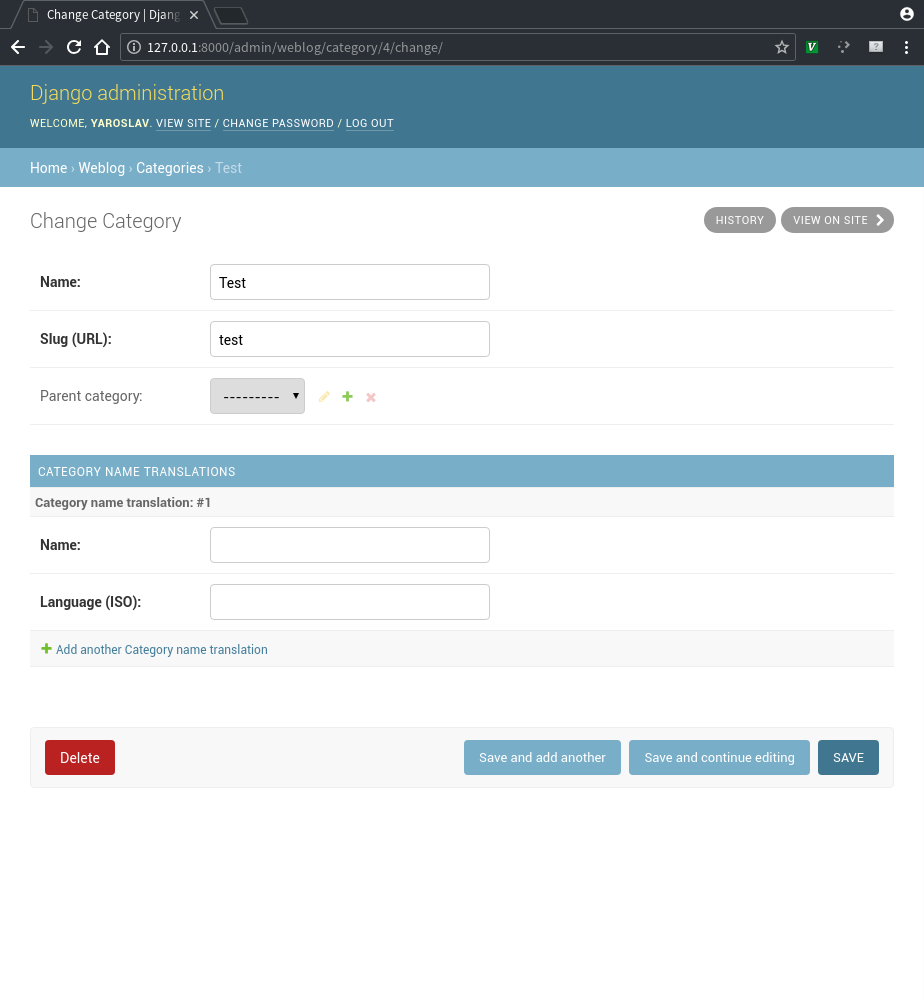
We can add a category
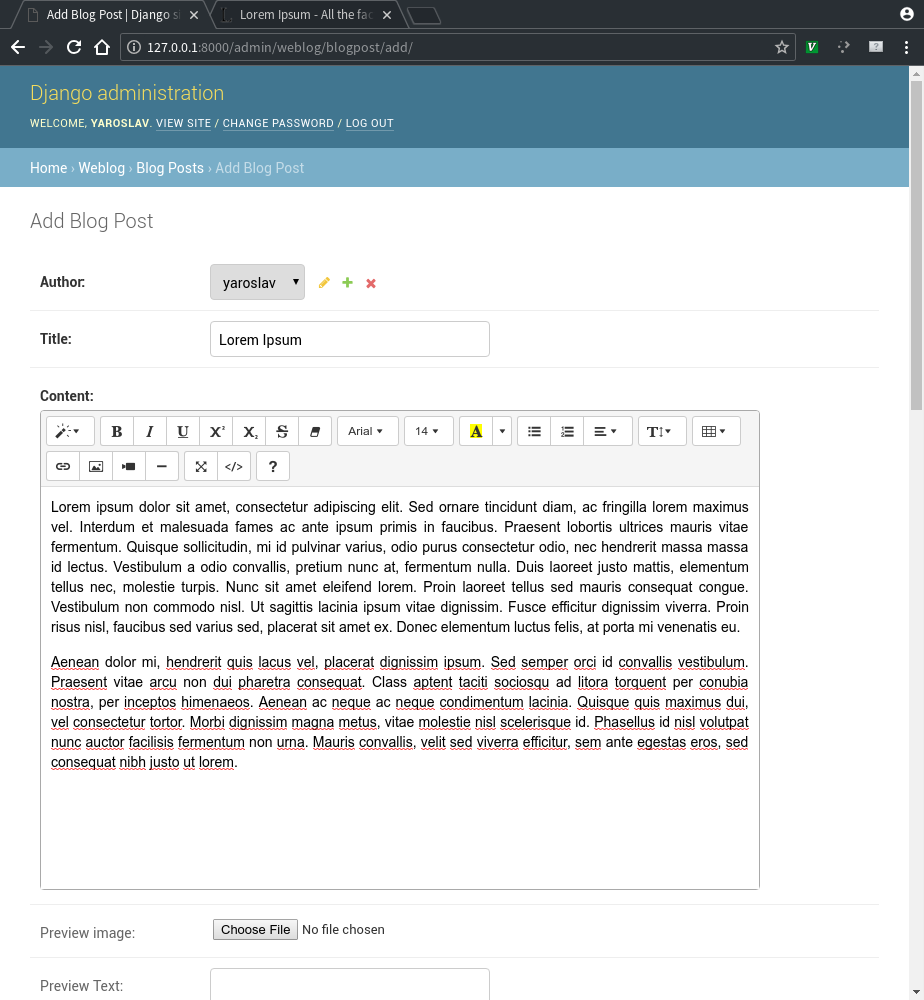
We could try and add a post now
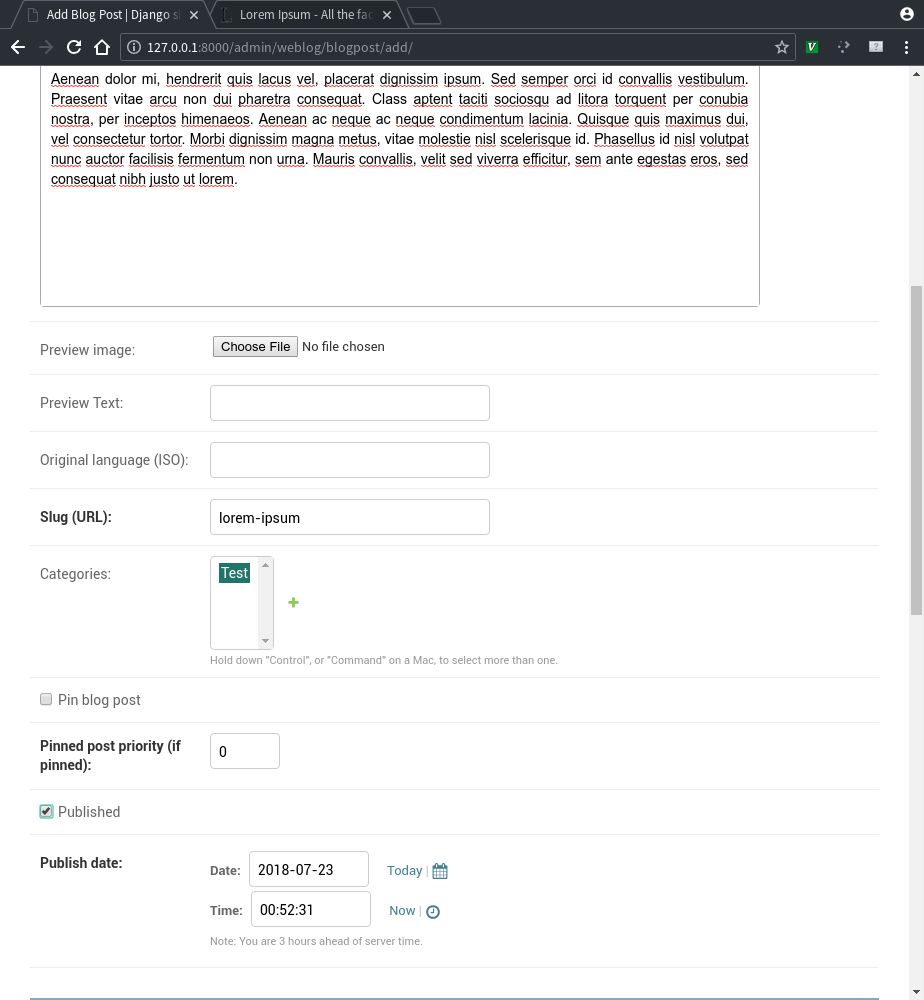
Chose a slug (the portion of the url for the post), the categor(y/ies), whether we want it to be available to the reader after saving (Published) and the date and time of publication.
After adding our post, the page now looks like this
I will better explain what the options above mean next.
Configuration
That already looks much like a blog, but what if we wanted to use our own base
template (the one containing the header/navbar), or show the categories on the
sidebar. If you want to change the settings for w3blog, you need to add the
WEBLOG_SETTINGS dictionary to your settings.py. The following are available
settings that you can change (with their defaults):
WEBLOG_SETTINGS = {
    'enable_comments': False,
    'allow_anon_comments': False,
    'multilingual': True,
    'blog_title': 'Django-Weblog',
    'base_template': 'weblog_base.html',
    'show_author': True,
    'use_authors_username': True,
    'show_sidebar': True,
    'show_categories': False,
    'show_archive': True,
    'posts_per_page': 10,
    'enable_rss': True,
    'home_title': 'Welcome to the blog!',
}
So most of them are pretty self explanatory, but I will explain them to avoid confusion nonetheless:
- enable_comments -- set to True to enable users to post comments on the posts.
- allow_anon_comments -- allow anonymous comments.
- multilingual -- enable multilingual features, i.e. translations of posts.
- blog_title -- the title of the blog, will be used on the blog's homepage and title tag
- base_template -- which base template to use. If not set, will use w3blog's default template.
- show_author -- set to True to display the author of the post on each post
- use_authors_username -- set to True to use the author's username (e.g. author66) instead of their full name (e.g. John Smith).
- show_sidebar -- set to True to show the sidebar (where the category and archive lists reside).
- show_categories -- set to True to show the categories list on the sidebar (won't show if you disabled the sidebar)
- show_archive -- set to True to show the archive list on the sidebar (won't show if you disabled the sidebar)
- posts_per_page -- the number of pages to display per page.
- enable_rss -- set to True to enable the RSS feed (/rss)
- home_title -- if set, it will display on the blog's home page instead of blog_title (but blog_title will display in the title tag).
Now, you most probably will want to use your own template, in that case, make sure to add the following to your template's head tag
<meta charset="utf-8">
<meta content="width=device-width, initial-scale=1" name="viewport">
<title>{{ blog_title }} - {% block title_block %} Home {% endblock %}</title>
<link rel="stylesheet" href="https://stackpath.bootstrapcdn.com/bootstrap/4.1.0/css/bootstrap.min.css" integrity="sha384-9gVQ4dYFwwWSjIDZnLEWnxCjeSWFphJiwGPXr1jddIhOegiu1FwO5qRGvFXOdJZ4" crossorigin="anonymous">
<link rel="stylesheet" href="https://use.fontawesome.com/releases/v5.0.13/css/all.css" integrity="sha384-DNOHZ68U8hZfKXOrtjWvjxusGo9WQnrNx2sqG0tfsghAvtVlRW3tvkXWZh58N9jp" crossorigin="anonymous">
<link rel="stylesheet" href="{% static '/weblog/css/weblog.css' %}">
<script src="https://code.jquery.com/jquery-3.3.1.slim.min.js" integrity="sha384-q8i/X+965DzO0rT7abK41JStQIAqVgRVzpbzo5smXKp4YfRvH+8abtTE1Pi6jizo" crossorigin="anonymous"></script>
<script src="https://cdnjs.cloudflare.com/ajax/libs/popper.js/1.14.0/umd/popper.min.js" integrity="sha384-cs/chFZiN24E4KMATLdqdvsezGxaGsi4hLGOzlXwp5UZB1LY//20VyM2taTB4QvJ" crossorigin="anonymous"></script>
<script src="https://stackpath.bootstrapcdn.com/bootstrap/4.1.0/js/bootstrap.min.js" integrity="sha384-uefMccjFJAIv6A+rW+L4AHf99KvxDjWSu1z9VI8SKNVmz4sk7buKt/6v9KI65qnm" crossorigin="anonymous"></script>
<script src="{% static '/weblog/js/weblog.js' %}" defer></script>
Another option, if you don't want to use bootstrap, would be to use your own css files using bootstrap's classes. You will want to check the templates' source code of my engine for reference in w3blog's GitHub page.
Using w3blog
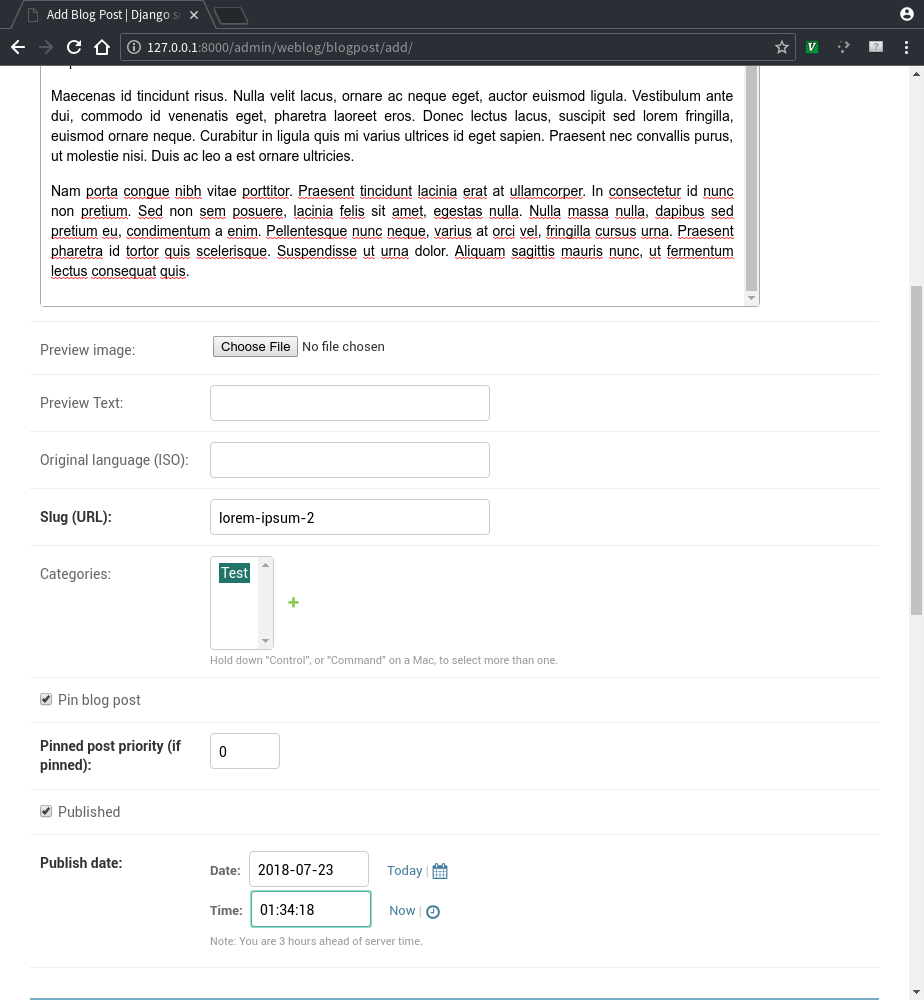
Let us go back a little bit and discuss how to use w3blog. As we saw in the beginning, you can add posts and categories through the admin. Let's focus on the adding posts part by checking this screenshot
As you can see, there are several option there to chose from
- Preview image -- use this to upload an image that you want to be displayed in the preview of your post (in the home/category/archive page)
- Preview text -- use this to set the text that will be displayed in the preview of your post. If you don't set it, w3blog will automatically use the first paragraph of your post's body as preview text.
- Original language (ISO) -- the ISO code of the original language of your post (e.g. "en"). This setting is not mandatory, and if you don't set and have translations for your post, it will assume that the original language is the one set in your settings.py file (LANGUAGE variable).
- Slug (URL) -- this will be the url part of your post. If you still don't understand what a slug is, Check out this link.
- Categories -- the category or categories that your post will belong to. If none are set, your post will be categorized under an "Uncategorized" category. Important note here: you should not set the slug of a category to "misc" since that is already used by weblog to display posts without a category.
- Pin blog post -- use this if you want to pin the post to the home page and show above the rest of the posts
- Pinned post priority -- if you pinned several posts, you use this to set their priority
- Published -- this sets whether the post is available to your readers. This can be useful, for example, when you've started writing a post, but haven't finished and want to save a draft of it, so you don't check this checkbox so that it doesn't display in your blog.
- Publish date -- date and time the post was published.
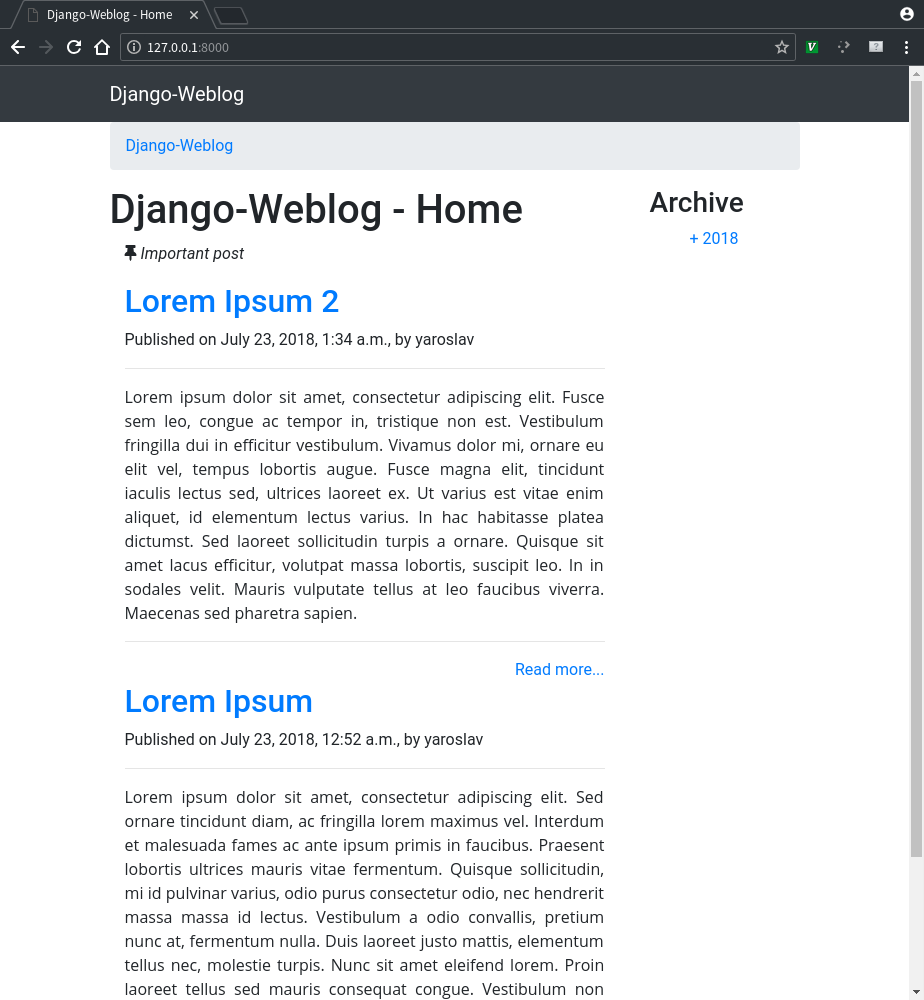
Let's try making a new post and setting it to pinned, to see what happens
So it will appear in our homepage at the very beginning
Translations
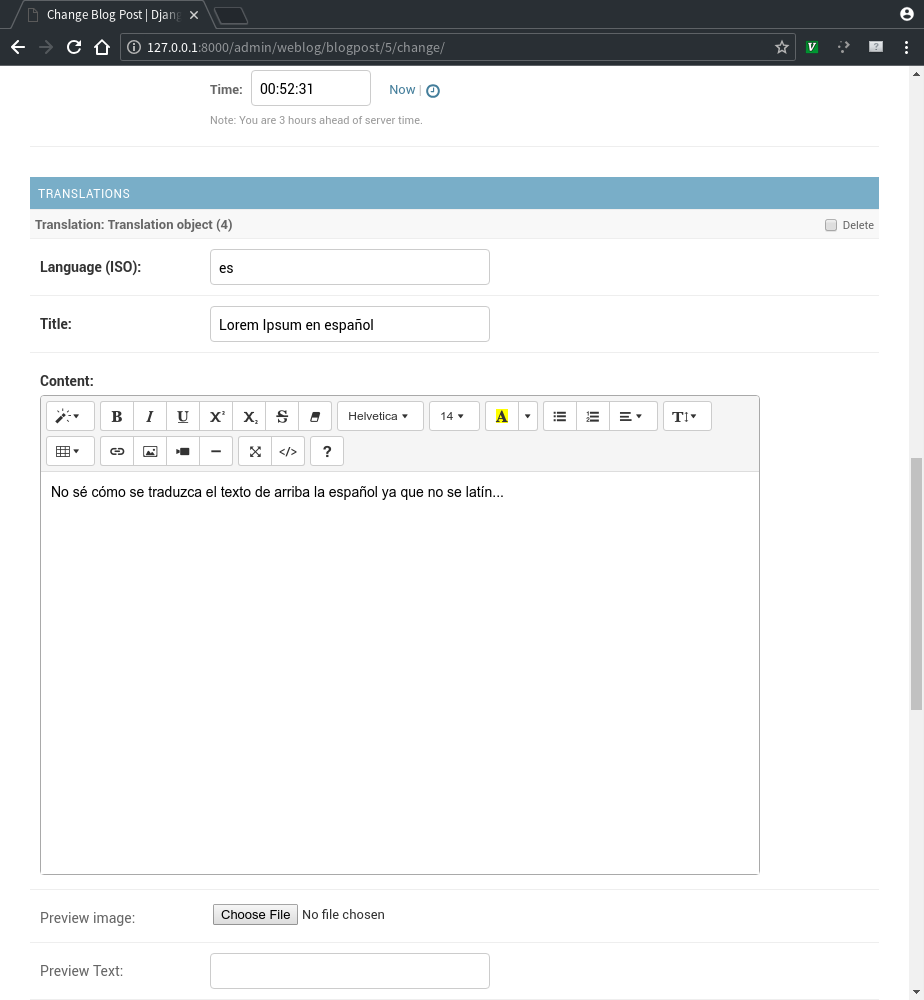
Adding a translation to a post is really simple if we have the multilingual feature enabled in the settings. While adding our post, or after adding it, we can go to the bottom of the add blog post page and add it. We will see some similar options to the ones for the original blog post.
Let's suppose I want to add a Spanish translation. For that, I would type in "es" as Language, and then just type the title, content, and if needed, the preview image and text for my Spanish translation.
After saving, if we go to the blog with computer or browser with Spanish language locale set, we will the site in spanish with the aforementioned's post Spanish translation
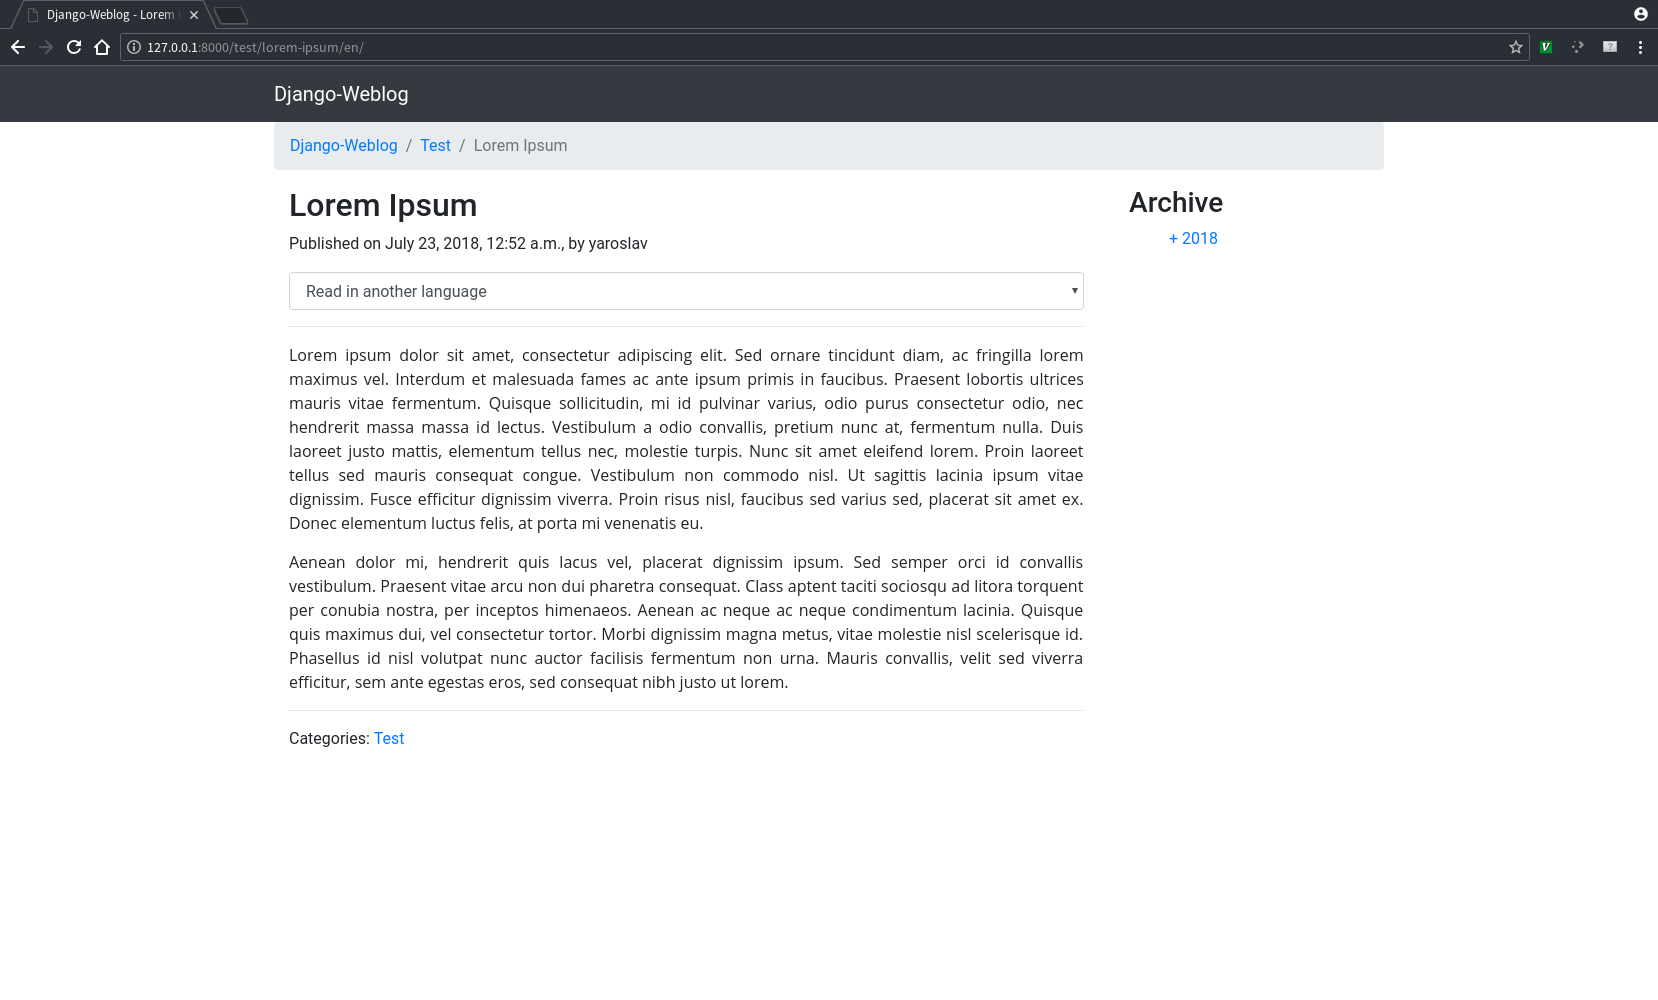
Or if we go to the post itself, we will see an option to choose to read the option in a different language.
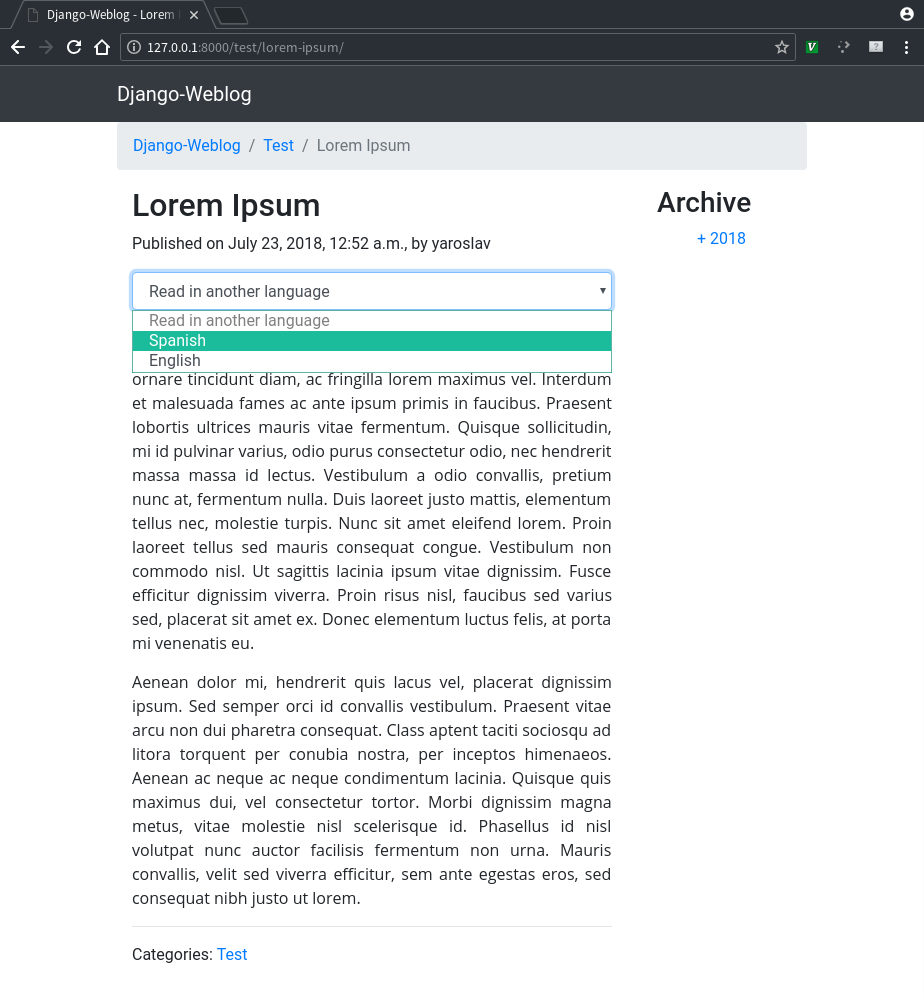
Similarly, we can add translations for each category, if we so wish.
So, this is basically it on how to use w3blog to set up your own blog using
Django. I hope this post and my blog engine were useful to you. If you have any
questions you can leave a comment here, or contact me at my email
contact@yaroslavps.com
If you have found a bug or problem with w3blog, be sure to open an issue on GitHub. The app is currently only translated to English, Spanish, and Russian, so if you are willing to provide a translation for your language or any other language that you know, you can send a pull request with the translated strings, or download the strings for the git repository, translate them, and send them to me so that I can compile them and add them to the project myself.
Thank you very much for reading this post, and I will be very happy to see your projects using my blog engine!
https://www.yaroslavps.com/weblog/w3blog-blog-engine/
© 2018—2026 Yaroslav de la Peña Smirnov.